Sending inventory to Amazon’s warehouses is one of the most important routine jobs for any FBA seller. A small mistake in quantities, labels, or box details can delay check-in and leave your products unsellable for days.
Amazon changes the Seller Central dashboard often, and the shipment workflow has been updated too. In this guide, based on our YouTube video on the Digital Solutions Zone channel, we walk through the current process: how to build a shipment, prepare and label your products, and send them to Amazon. We also share a few tips that can save you time and money.
Whether you’re a new seller or you’ve shipped before, this guide will help you avoid the common mistakes.
Step 1: Start Your Shipment in Seller Central
Log in to your Amazon Seller Central account. There are two ways to begin.
Option 1: From Manage All Inventory
In the top menu, go to Inventory → Manage All Inventory.
Select the products you want to send to FBA.
Open the “Action on selected” dropdown and choose “Send/Replenish Inventory.“
Option 2: From the Shipments menu
In the top menu, go to Shipments → Create Shipment.
Search for your product by SKU, ASIN, or title.
Important: Before you start, check that each product’s fulfillment channel is set to FBA (Fulfilled by Amazon). If it’s set to merchant-fulfilled, it won’t appear in the shipment workflow.
You can also view your in-progress shipments under Active Workflows. To pick one up again, click “Switch to Workflow.”
Step 2: Confirm Your Ship-From Address
Confirm the address the shipment will leave from. This is usually your prep center, warehouse, or home address. Once it’s set, search for the products you want to send using the title, SKU, FNSKU, or ASIN.
Step 3: Add Packing Details and Prep Category
Next, tell Amazon how your products are packed.
Packing details: Choose Individual Units if you’re sending loose items. If you use a packing template, you can select it here or create a new one.
Preparation category: Pick the category that fits your product. In our example, we choose “No prep required,” but you should select whichever option matches your item.
Quantity: Enter the number of units in the Units field. If you’re sending individual items, leave the Boxes field empty.
Click “Ready to Pack.” Repeat the same steps for every product in the shipment.
Tip: Double-check your quantities before moving on. Once labels are printed, changes are not easy to make.
Step 4: Print FNSKU Product Labels
Every unit you send needs an FNSKU barcode so Amazon can identify it. To print labels:
- Go to Manage Inventory and select the products that need labels.
- Click the group action button and choose “Print item labels.”
- Pick the correct label size from the dropdown.
- Enter how many labels you need for each item.
- When everything looks right, click “Print item labels.”
Step 5: Set Up Your Pack Groups
Now decide how your products will be packed. You have two options:
“Everything will fit into one box“: Enter the box dimensions and weight, then click Confirm.
“Multiple boxes will be needed“: Choose this if the shipment won’t fit in one box. In our example, only 10 items fit per box, so we select this option.
If you choose multiple boxes, you’ll need to submit your box information. Select your preferred upload format (we prefer Excel) and follow these steps:
- Enter the number of boxes.
- Click “Generate Excel file” and download it.
- Fill in the box details accurately.
- Upload the file using “Upload and Validate file.”
- Click Confirm and Continue.
Step 6: Choose Your Shipping Method
Next comes shipping. Work through these choices in order:
- Shipping date: Select the date you plan to send the shipment.
- Region: Choose your region.
- Shipping mode: Pick the one that suits your packages:
- Small Parcel Delivery (SPD) for standard boxes.
- Less Than Truckload (LTL) for pallet shipments.
- Carrier: Select your preferred carrier. Amazon usually offers discounted UPS partner rates.
Partnered vs. non-partnered carriers: If you use an Amazon Partnered Carrier, the tracking ID is added to Seller Central automatically. If you use a non-partnered carrier, you have to enter the tracking IDs yourself.
After choosing a delivery window, review the estimated cost. If you’re happy with it, accept the charges and click “Print box labels.”
Step 7: Label Your Boxes and Send Them Off
Stick a shipping label on every box. Make sure the labels don’t cover seams or barcodes, so they scan properly.
Once the labels are on, confirm your shipment in Seller Central. Then either drop the boxes at the carrier’s location or schedule a pickup.
Step 8: Track Your Shipment Status
After you send the boxes, your shipment moves through these statuses in Seller Central:
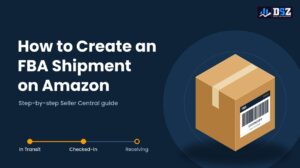
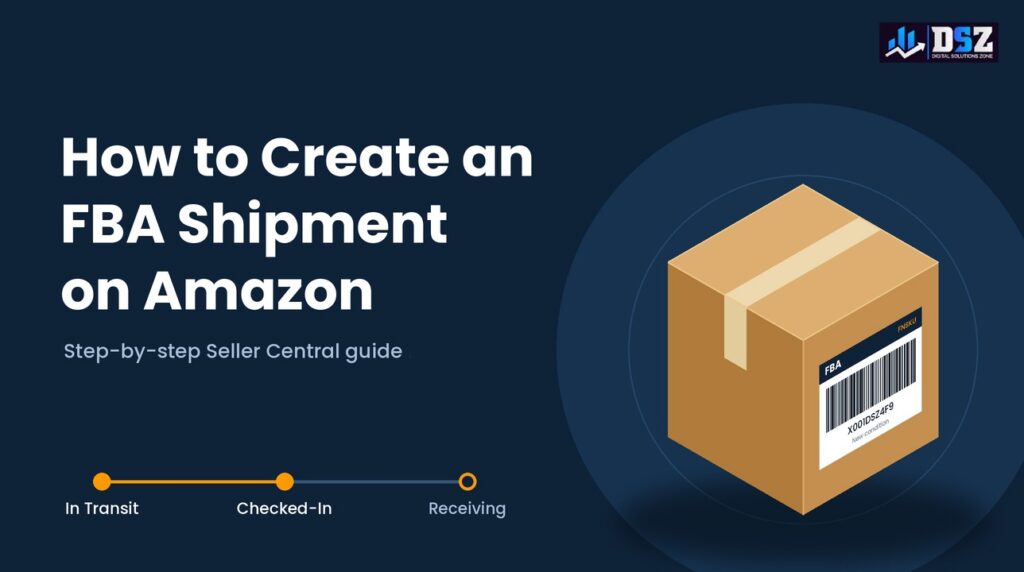
In Transit: Your boxes are on their way to Amazon.
Checked-In: The boxes have arrived at the fulfillment center.
Receiving: Amazon is processing your inventory.
It can take anywhere from a few days to a couple of weeks before your inventory becomes fully available for sale, so plan your restocking with that in mind.
Quick Checklist Before You Ship
- The fulfillment channel is set to FBA for every product.
- The ship-from address is correct.
- Unit quantities are accurate.
- FNSKU labels are on every unit.
- Box weights and dimensions are entered correctly.
- Box labels don’t cover seams or barcodes.
- Tracking IDs are entered if you use a non-partnered carrier.
Conclusion
Creating an FBA shipment may look complicated at first, but it gets easier with practice. Set up the shipment, pack it correctly, label every unit and box, and choose the right carrier. Then you can track it from “In Transit” through to “Receiving.” Have questions, or is there a step where you get stuck? Tell us in the comments. What’s the biggest challenge you face when sending inventory to Amazon? We’d love to help.